
When we last left off (way back in November before life became extremely chaotic; my apologies) the walls of the house house had just been tarred and we were getting ready for The Pouring of the Concrete. To prepare, P.C. and some other handy dandy men spent a few hours in the bitter cold raking the gravel base smooth while I stayed home and enjoyed the warmth of a cup of cocoa. Then a blanket of tarp was placed over the whole thing to (I think) keep water and other items such as leaves and sticks from compromising the concrete floor. Then P.C. and John secured the rebar across the ground and elevated it with a bunch of plastic tiny footstools*.
*Disclaimer #1-I am not an excavationist nor am I a construction worker. Words that make no sense to me will from now on be replaced with alternatively girl-friendly words. Over and out.
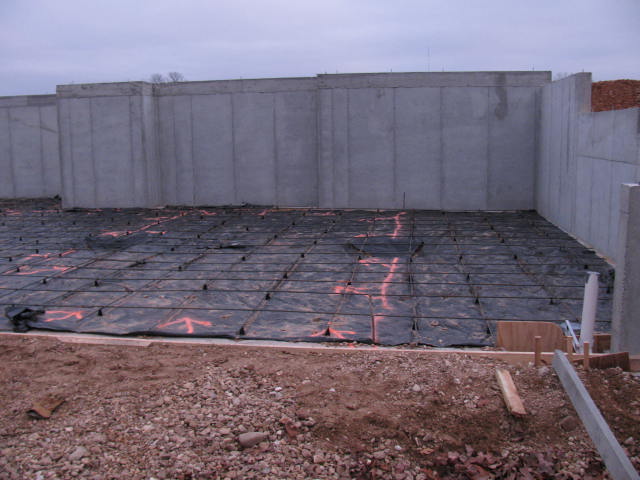
This is the final product. Ta da! What you are looking at is the future downstairs basement. The upstairs basement was also completed, but we have no proof of it because somebody *raises hand* really doesn't like going out in the cold to shoot pictures when the alternative is staying inside with a down comforter and a good book. And P.C. may or may not have forgotten the camera at the house a few times.
After a few weeks of waiting for the ground to dry up from a wet weekend, we finally got all of the concrete men over and The Pouring of the Concrete began.
*Disclaimer #2-I am in no way a concrete worker and have never witnessed concrete being poured. I bear no responsibility to posting the proper sequence of the concrete process. Things that look good will be included and stuff that makes no sense to me will be left out. Thank you for your cooperation.
Step #1-This is a concrete truck. Standing next to it is father-in-law-general-contractor-go-to-man John, whose face is camouflaged from the brim of his hat.

Hi camouflaged John!
Step #2- A long slide (see disclaimer #1) is extended from the concrete truck to the gravel base.
Step #3-John stands and observes.

Step #4-Concrete stuff begins spewing out of the concrete truck and the concrete men work frantically to make sure the concrete stuff lands perfectly in the concrete-prepared spaces. Got it?

Step #5-John stands and observes.


The process continues in this manner until Step #6 when....

John lays his hands on the concrete slide and smiles.
Step #7-While the concrete workers corral the concrete into the rebar squares, they alternatively flatten it with a giant rolling pin to make it nice and pretty.


Over time the floor became smoother and smother til it started looking like this:

Step #8-Then the concrete men pulled out what I can only describe as a miniature steam roller (Disclaimer!) and as they slowly ran it across the concrete, it leveled itself out and became as smooth as a baby's bottom.
Note: this video is actually of the upstairs garage, but in my infinite wisdom and through the powers of deduction, I conclude that what was done to the basement concrete was done to the upstairs concrete. So just trust me.
Step #9-John takes a break from observing and bothers the cameraman

A few weeks later the upstairs garage is finished in the same manner.


And there you have it: nice, clean concrete floors that will be used for years to come as a place to park our cars, for our kids to ride bikes on, and of course, a level spot for P.C. to fly his helicopter.
Stay tuned for the exciting adventure of Deciding Where the Driveway Goes!
No comments:
Post a Comment